A small upgrade for the Minitrix Köf II, one of the smallest N scale engines.
Bad engine, bad!
Minitrix had released several digital versions of the cute little Köf II shunting locomotive. There were also DC versions as well.
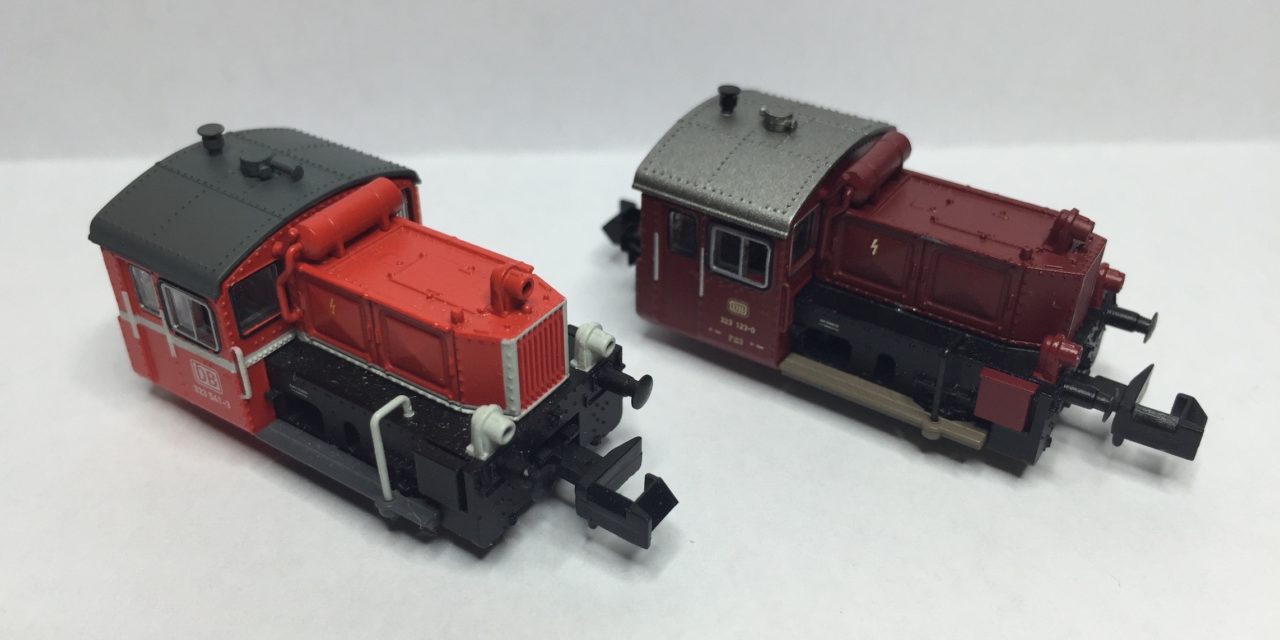
I have 2 models, old and new Deutsche Bahn livery:
Minitrix managed to build a very small engine, and even included front and rear headlights. As expected at this size and weight, this locomotive can easily get stuck without power.
But it turned out the (Doehler & Hass built) factory decoder wasn’t really top notch. The engine wasn’t really behaving well, even on clean straight tracks, and I wasn’t the only one complaining.
DH06A decoder as a replacement
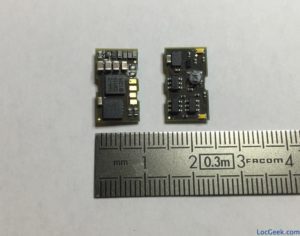
The same company who built the original decoder for Minitrix, Doehler & Haass, has since then released a new decoder. The DH06A has been specifically designed for the Minitrix Köf II, its shape, and its 6V micro-motor. It even includes 2 LEDs to light up the driver cabin as a bonus.
The DH06A can be bought where other Doehler & Haass decoders are available. But the brand also offers an exchange program. If you send them back the original decoder: the DH06A will cost you 18€. The exchange program page is here (in German, use google translate if needed).
The topic has been discussed a lot on german forums. Yes, it seems unfair for a company to basically cash twice (once from Minitrix, and then a second time from the user buying the DH06A decoder). On the other hand, Minitrix (Märklin) may have given D&H very little money or a poor requirements list originally.
In any case, the DH06A has been praised as a big improvement on the original decoder. The Minitrix Köf II uses a small 6V motor, so other decoders cannot be used (at least not without additional DIYing).
Conversion
Changing the decoder requires precise soldering and isn’t really for beginners.
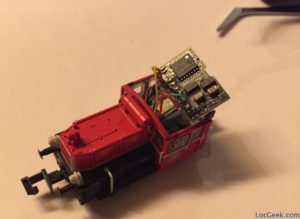
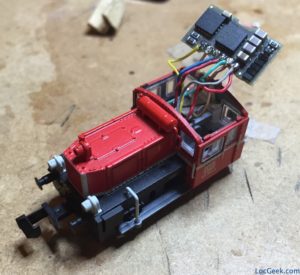
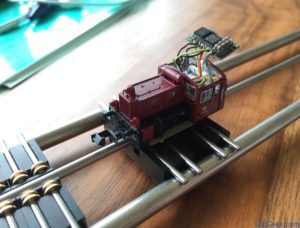
I personally added additional capacitors (4x100uF) to even further improve the engine’s driving characteristics. Those have to be soldered directly on the components (cables visible in picture below). They can be placed in the driver cabin, where there is a little room for SMD components.
Conclusion
Both Köf II engines with the DH06A decoder now behaves way better than before. Don’t expect miracles though: it is still a very small and light locomotive with 4 wheels. It may still get stuck occasionally, but way less than with the factory decoder. This was all tested even before I added the 400uF buffer.
So if you know how to solder and have one of those little engines, a decoder update may be in order.
Special thanks to Christian from http://www.modellbahn-diepholz.de who motivated this modification and explained how to connect the capacitors. He also has a much nicer Youtube video than mine, that you can see here.
External links
- The DH06A decodeur page (in German):
http://doehler-haass.de/cms/pages/produkte/fahrzeugdecoder/dh06a.php - The DH06A exchange program page (in German):
http://doehler-haass.de/cms/pages/news/umtausch-aktion-koef-lokdecoder.php




An interesting conversion.
I did one some year ago, having found the original decoder in the Kof to give quite poor running. I used a CT DCX74 or DCX75 (can’t remember which, and conversion was for someone else).
Whilst there is a concern over the low voltage motor, in practise motors are usually killed by stalling (too much current) rather than too many volts, unless those volts are really excessive. I’ve been running lower voltage motors on both standard 12v DC and DCC for a long time (decades on DC!), as have other modellers in the UK, and the motors do not seem to suffer. So, if the track current is reasonable, say under 16v, things should be fine without a special decoder.
The installation of the CT needed some extra resistors for the lights. I used a couple of surface mount resistors on the ends of leads from the decoder.
With the CT, the Kof performed wonderfully. Its bottom speed was imperceptibly slow, taking over a minute to move 4cm.
Adding the capacitors is a good idea in small four wheeled locos, I’ve been doing that in other small locos recently.
Thanks for the comment, it’s good to know those little motors may not burn with regular decoders!
I’m not an electronic expert really, I just know the DH06A has a voltage dropdown mechanism of some kind (not an usual feature on DCC decoders)… so I went for the safest option (plus the onboard driver cab LEDs were nice).
A DCX74 or 75? You’re a real pro 😉 That’s a lot of soldering in a very small space. My solution, admittedly, is lazier: the pins of new DH06A matched the ones from the factory decoder 1:1 …and both decoders are actually bigger than a DCX!
I’m almost tempted to upgrade mine (I don’t need to explain why, clearly!). I’m not sure if I’m quite ready to jump into micro-soldering tiny bits just yet though….
Can’t decide for you 😉 My thoughts…
Problem with DIYing is always the fear of damaging the precious locomotive (a $30 decoder, you can always buy again….).
This Köf thing is actually easier than most decoder installs, since you basically open the roof, unsolder the wires, carefully noticing which wire goes where, and then simply solder the wires at the same place on the new decoder. Adding caps is more advanced, but you actually do that BEFORE inserting the decoder in the engine. If you’re careful and don’t use a too hot iron (don’t damage too much of the wires plastic isolation layer!), it’s feasible.
The higher risk though, as opposed to other decoder installs, is damaging the wires (e.g. melting too much wire isolation). Having to replace one wire (all the way to the motor or a LED) in this tightly packed locomotive surely would be a hassle.